
Home / Blog Center / Chargers / What Are the Detailed Steps for Building Tile Kitchen Cabinets?
What Are the Detailed Steps for Building Tile Kitchen Cabinets?
29/08/2025 | OtterOasis
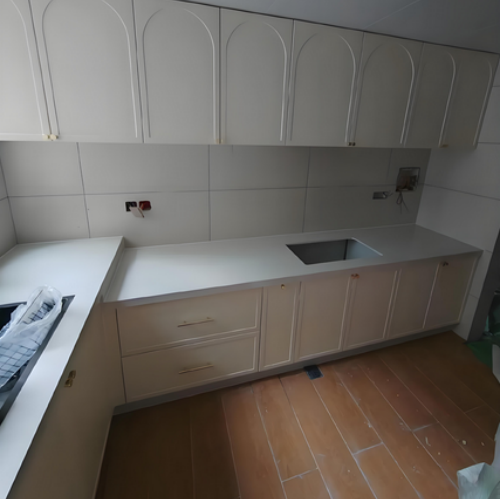
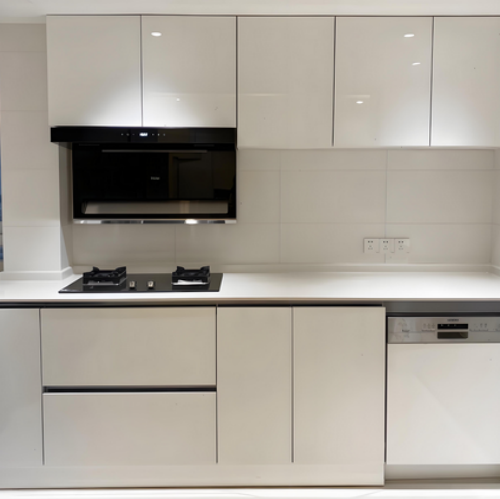
As people's prerequisites for kitchen aesthetics and strength increment, tile cabinets have steadily ended up a prevalent choice in domestic remodels due to their points of interest of being waterproof, fire-resistant, simple to clean, and long-lasting. Compared to conventional board cabinets, tile cabinets are more vigorous and steady, particularly reasonable for sticky situations. In any case, their development handle is generally complex and requires proficient plan and gifted operation. So, what are the point by point steps for building tile cabinets?
Detailed Steps for Building Tile Cabinets:
1. Plan and Arranging
Before development starts, a point by point plan must be made based on the genuine measurements and format of the kitchen. Decide the cabinet's area, tallness, profundity, and utilitarian zones (such as cooking range, sink range, and capacity region). Draw development plans to clearly characterize the measurements of base and divider cabinets, and save space for electrical outlets, channels, and run hood channels. At the same time, select the measure, color, and surface of the tiles to guarantee they arrange with the generally kitchen style.
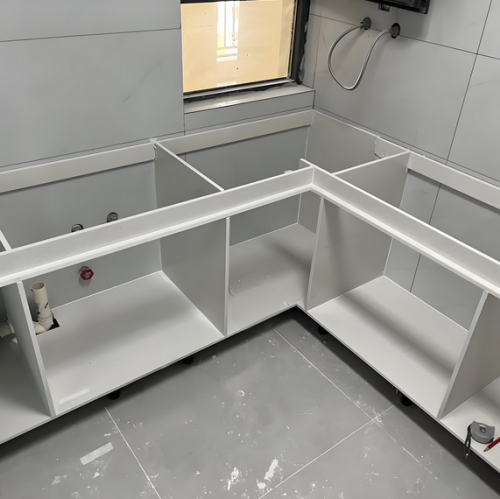
2. Building the Base Structure
Use light steel studs or ruddy bricks to build the inner bolster structure of the cabinets. Brick structures are more steady and perfect for base cabinets, whereas light steel studs are lighter and superior suited for divider cabinets. Amid stone work work, utilize a level to guarantee the structure is level and plumb. A concrete base layer can be poured at the foot of base cabinets to upgrade load-bearing capacity. After the outline is total, pre-install vital water and electrical pipelines.
3. Waterproofing Treatment
Before tiling, apply waterproofing treatment to the whole cabinet structure. Particularly for base cabinets, apply waterproof coating two to three times on both inward and external surfaces. Strengthen corners and joints with waterproof tape to anticipate dampness entrance that seem harm the structure over time.
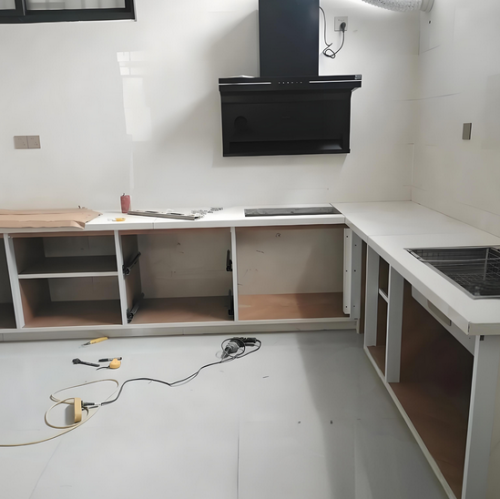
4. Tile Establishment
Select reasonable tiles concurring to the plan, cut them as required, and introduce them. Large-format tiles are ordinarily utilized for the front boards of cabinets, whereas corner edges are wrapped up with corner trim or beveled edges. Utilize tile cement or the thin-set strategy to guarantee solid attachment and indeed dispersing. After establishment, utilize cross spacers to keep up reliable crevices and permit at slightest 24 hours of drying time some time recently proceeding.
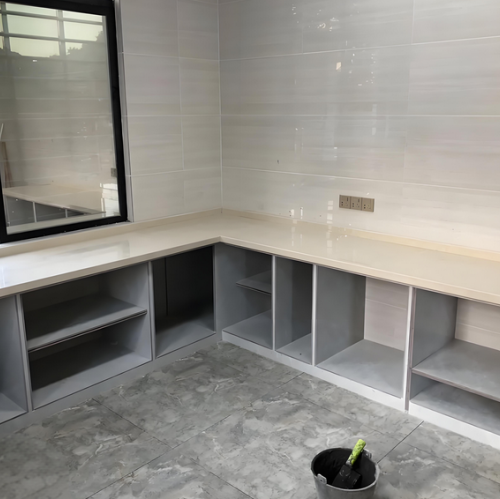
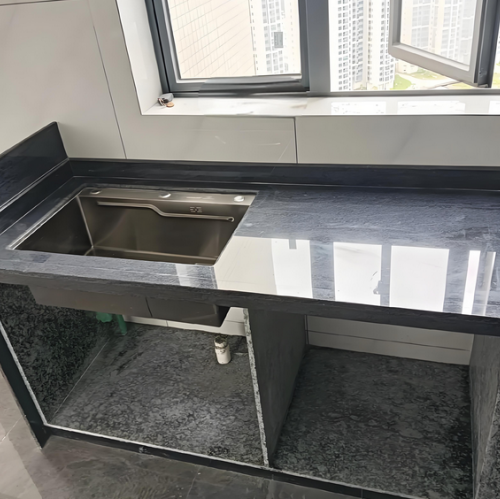
5. Grouting and Edge Wrapping up
Once the tiles are totally dry, apply mold-resistant and waterproof grout to progress both appearance and strength. Utilize stainless steel or quartz edging strips to wrap up the cabinet edges and countertop joints to dodge chipping and make strides for the most part surface.
6. Introducing Entryways and Equipment
Finally, introduce the cabinet entryways agreeing to the structure. Pivoted or attractive entryways can be utilized to guarantee smooth opening and closing. Introduce handles, pivots, pull-out bushel, and other equipment to total the useful setup.
By taking after the over steps, a durable, strong, and tastefully satisfying tile cabinet can be completed, giving a long-term and dependable encounter in the kitchen.
In summary:The over data covers the point by point prepare of building tile cabinets. We trust this gives you with supportive experiences. For more domestic redesign information, feel free to proceed going by our site.