
Home / Blog Center / Chargers / How to Securely Mount a Mirror on Tile
How to Securely Mount a Mirror on Tile
28/08/2025 | OtterOasis
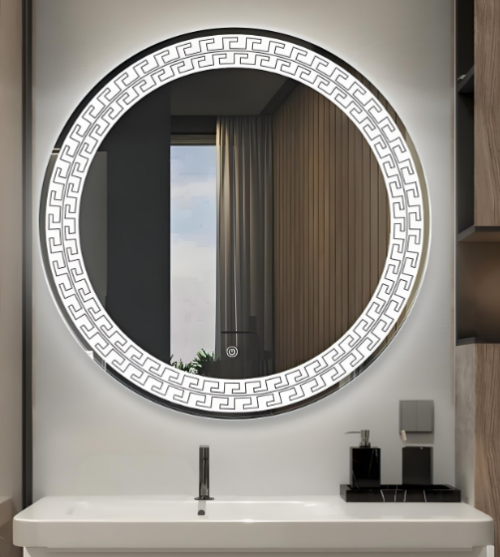
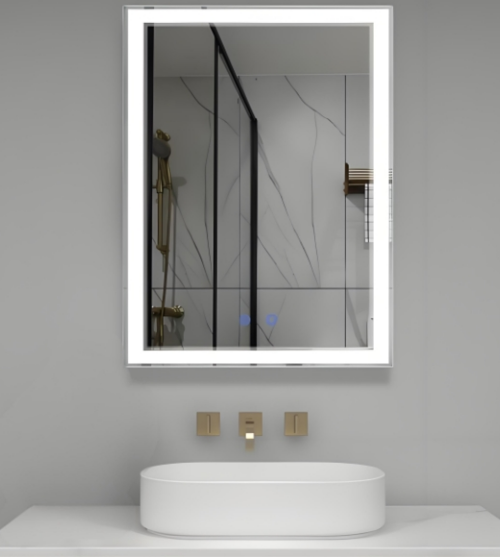
In spaces such as lavatories, kitchens, or entryways, tiled dividers are a common wrapping up fabric. When introducing a reflect on tile, guaranteeing it is safely and securely settled without harming the surface gets to be a common concern. Due to the tall hardness and smoothness of tiles, conventional cements may lead to the reflect getting to be free or indeed falling off. So, how can you appropriately secure a reflect to a tiled wall?
How to Secure a Reflect to Tile:
1. Clean and Plan the Tile Surface
Before settling the reflect, completely clean the tile surface to expel clean, oil, or dampness. Utilize liquor or a devoted cleaner to wipe the zone, guaranteeing the mounting surface is totally dry. A clean surface altogether moves forward the attachment of stick or mounting equipment, avoiding powerless holding caused by contaminants.
2. Select the Suitable Mounting Strategy
Select the establishment strategy based on the mirror’s estimate and weight. For little mirrors, high-strength glass cement is adequate. Medium-sized mirrors are best introduced utilizing glass cement combined with reflect clips or metal brackets. For huge or overwhelming mirrors, penetrating and utilizing extension jolts or tile-specific grapples are suggested to guarantee secure load-bearing.
3. Utilize Specialized Glass Cement
It is prescribed to utilize unbiased, mold-resistant silicone glass cement, which offers solid attachment, resistance to dampness, and long-term toughness. Amid application, equally apply the cement in specks or strips around the edges and center of the mirror’s back—avoid covering the whole surface to permit discuss to elude. Press the reflect solidly into put and hold it unfaltering for at slightest 30 minutes to permit introductory curing.
4. Bore Gaps with Care
If penetrating into tile is fundamental, utilize a tile-specific bore bit (such as a diamond-tipped bit) and work at a moo speed with water cooling to anticipate breaking. After boring, embed an development plug and secure the reflect outline or backing with screws. Continuously check for covered up electrical wiring or plumbing behind the divider some time recently boring to guarantee safety.
5. Utilize No-Drill Mounting Embellishments
If you incline toward not to harm the tile, consider no-drill choices such as heavy-duty suction mugs, nano cement tapes, or no-nail cements. These are reasonable for lightweight mirrors, but keep in intellect their stack capacity is constrained. Long-term presentation to mugginess may decrease their adequacy, so standard review is advised.
6. Permit Curing Time and Perform Customary Checks
Regardless of the strategy utilized, permit the reflect to stay undisturbed for at slightest 24 hours after establishment to guarantee full curing or auxiliary soundness. A short time later, occasionally check for signs of releasing, lifting edges, or moving, particularly in regions with tall stickiness or temperature variances. Convenient upkeep can amplify the mirror’s lifespan.
In summary:The over substance covers how to safely introduce a reflect on a tiled surface. We trust this data is accommodating. For more related information, it would be ideal if you proceed to take after our website—we will proceed to give wealthier and more profitable substance in the future.