Home / Blog Center / Chargers / How to Remove a Built-in Wall-Mounted Desk
How to Remove a Built-in Wall-Mounted Desk
26/08/2025 | OtterOasis
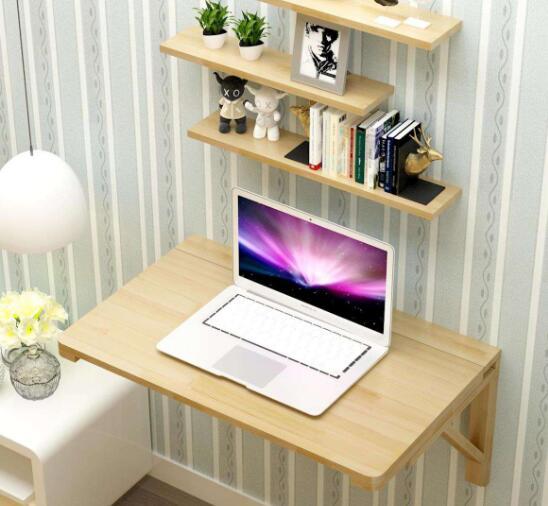
Amid domestic remodel or space remodeling, there may come a time when you require to expel a settled wall-mounted desk—for illustration, to reconfigure furniture format, overhaul the room, or reestablish the unique condition some time recently moving out of a rental property. These work areas are regularly secured to the divider utilizing extension jolts, metal brackets, or coordinate tying down into the divider. The expulsion prepare requires cautious dealing with to guarantee security and minimize harm to the divider surface. So, how do you legitimately destroy a for all time introduced divider desk?
How to Destroy a Settled Wall-Mounted Desk:
1. Get ready the Vital Apparatuses
Before beginning, accumulate all required instruments, counting a torque or screwdriver (for expelling screws), pound, pry bar, electric penetrate (valuable for adamant extension jolts), defensive gloves, and security goggles. Moreover, have a little holder prepared to store screws, nuts, and other little equipment to anticipate misfortune. If the work area is found at a stature, utilize a steady stepping stool to guarantee secure and comfortable get to amid the process.
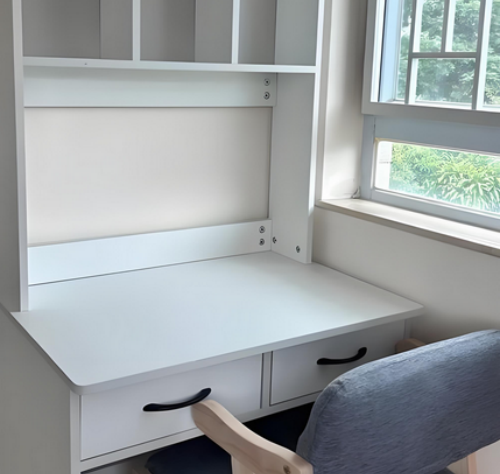
2. Expel the Desktop and Joined Components
Begin by clearing all things from the work area. Look at how the desktop interfaces to the bolster brackets. Most settled work areas are joined utilizing metal corner braces or jolts. Utilize the suitable devices to carefully unscrew and confine these associations. Tenderly expel the desktop, taking care not to scratch the divider or floor amid expulsion. If the work area incorporates extra components such as racks or drawers, dismantle them first.
3. Take Down the Divider Brackets
After evacuating the desktop, continue to disassemble the metal brackets settled to the divider. Utilize a torque or screwdriver to extricate and evacuate the extension jolts securing the brackets. If jolts are rusted or stuck, apply a rust penetrant, hold up a few minutes, and at that point attempt once more. For jolts that cannot be turned, utilize an electric bore with a turn around bit to extricate them. Work out caution to dodge breaking or chipping the wall.
4. Clean Up Divider Buildup
Once the brackets are emptied, the divider will likely have remaining holes, plastic hooks, or cement marks. Utilize a flathead screwdriver or forceps to drag out any remaining plastic expansion tubes. If the divider surface is hurt or uneven, apply spackle or joint compound to fill the holes. After it dries, sand the locale smooth so it’s arranged for repainting or decorating.
5. Clean the Zone and Last Touches
After disassembling, altogether clean the workspace by evacuating devices, flotsam and jetsam, and clean. Assess the repaired divider segments to guarantee a slick and uniform wrap up. In rental circumstances, appropriate divider rebuilding is basic some time recently returning the property. Pay consideration to security and detail all through the handle to guarantee total evacuation without compromising the wall’s auxiliary integrity.
In summary:The over gives a point by point direct on how to evacuate a settled wall-mounted work area. We trust this data is supportive. For more related information, it would be ideal if you proceed to take after our site, where we will share indeed more comprehensive and valuable substance in the future.