
Home / Blog Center / Chargers / How to Build a Wall-Mounted Cabinet or Closet
How to Build a Wall-Mounted Cabinet or Closet
25/08/2025 | OtterOasis
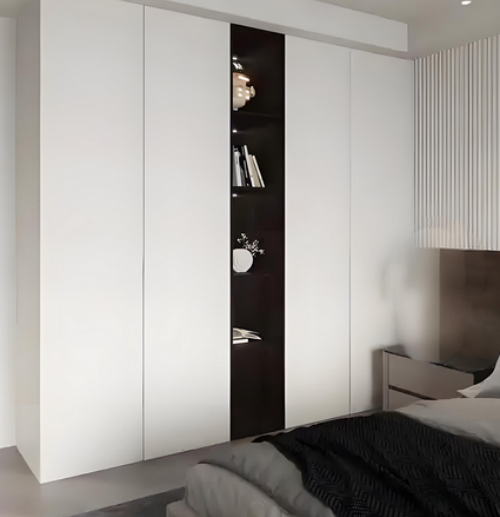
In present day domestic plan, space utilization has gotten to be an progressively vital thought, particularly in little flats or families with tall capacity requests. Wall-mounted cabinet closets are broadly prevalent as a arrangement that combines capacity usefulness with stylish offer. These closets make great utilize of vertical space, decrease floor region utilization, and can be customized agreeing to room format and client propensities. But how do you make a wall-mounted cabinet wardrobe?
How to Make a Wall-Mounted Cabinet Wardrobe:
1. Arranging, Plan, and Measurement Estimation
The to begin with step in making a wall-mounted closet is point by point space estimation and utilitarian arranging. Degree the length, width, and stature of the divider, taking care to dodge impediments such as switches, outlets, entryways, windows, and channels. Decide the useful zones based on utilization needs—such as hanging ranges, collapsed clothing areas, drawer units, or capacity for shoes and embellishments. Utilize plan program or hand-drawn draws to make rise and inner structure charts, clearly characterizing the positions and measurements of racks, hanging poles, and drawers to guarantee a coherent format and helpful access.
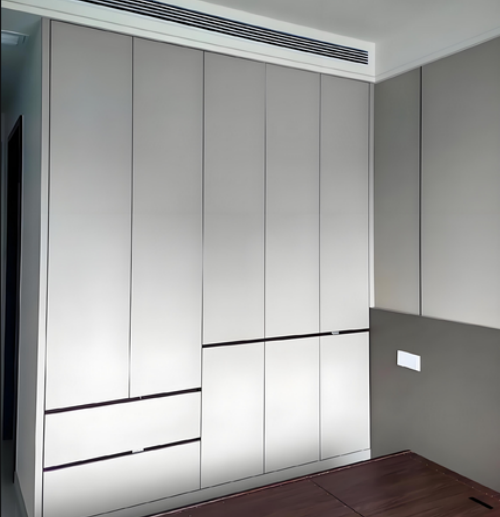
2. Select Reasonable Materials and Equipment
The choice of materials straightforwardly influences the wardrobe’s toughness and natural security. Common board materials for cabinets incorporate biological sheets, plywood, and OSB (Arranged Strand Board), all of which offer great dampness resistance and load-bearing capacity. Entryway boards can coordinate the cabinet fabric or consolidate glass or reflected wraps up to upgrade the sense of space. Plan high-quality equipment such as development screws, L-shaped brackets, pivots, drawer slides, and rack pins to guarantee the cabinet is safely mounted to the divider and that entryways and drawers work smoothly.
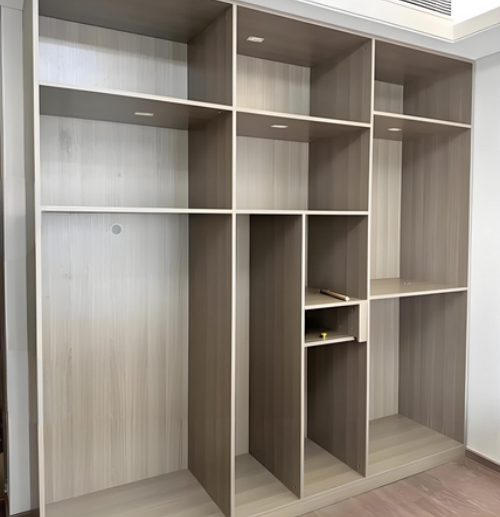
3. Construct the Cabinet and Cut Boards
Accurately check the boards agreeing to the plan drawings, at that point utilize a control saw or accuracy cutting device to cut the fabric, guaranteeing clean, smooth edges without chips. The cabinet structure regularly comprises of side boards, beat, foot, back board, and inner racks. Pre-drill gaps and introduce 3-in-1 cam locks or comparative connectors to encourage on-site get together. After all components are cut, perform a trial gathering to confirm measurements and basic steadiness, making alterations as needed.
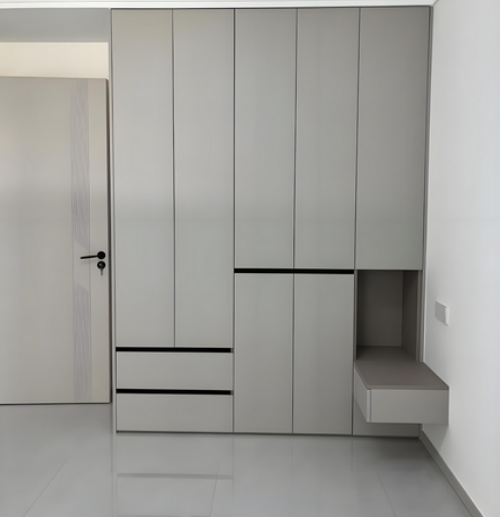
4. Secure the Cabinet to the Divider
Before establishment, stamp a flat reference line on the divider. Utilize a pound penetrate to make gaps in the divider, embed extension grapples, and at that point immovably connect the cabinet to the divider utilizing L-shaped corner brackets or back board screws. Pay extraordinary consideration to weight-bearing requirements—ensure all mounting focuses are secured into strong dividers, maintaining a strategic distance from empty bricks or drywall. After establishment, utilize a soul level to check that the cabinet is vertically adjusted and steady, utilizing shims for fine alterations if necessary.
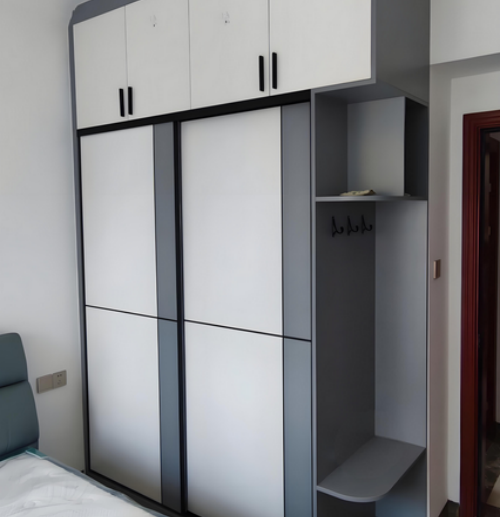
5. Introduce Entryways, Drawers, and Insides Extras
Once the cabinet is secured, introduce the pivots and join the entryways, altering the pivot screws to accomplish indeed crevices and smooth opening and closing. Drawer slides must be accurately situated to guarantee smooth, continuous development. At long last, introduce insides embellishments such as pant holders, tie organizers, and capacity canisters to improve convenience. After all components are introduced, clean the cabinet surface and assess all parts to guarantee the wall-mounted closet is secure, useful, and outwardly appealing.
In summary:The over substance offers how to make a wall-mounted cabinet closet. We trust this data is supportive. If you'd like to learn more related information, feel free to proceed taking after our site.