
Home / Blog Center / Chargers / How to Add LED Light Strips to a Mirror: A Step-by-Step Guide
How to Add LED Light Strips to a Mirror: A Step-by-Step Guide
22/08/2025 | OtterOasis
With the ceaseless headway of present day domestic lighting plan, more and more family units are including Driven light strips to their mirrors, particularly in regions such as lavatories, dressing tables, and walk-in closets. Driven light strips not as it were give indeed, delicate light that viably diminishes facial shadows and improves the comfort of day by day schedules like cosmetics and skincare, but too make a a la mode, high-tech visual environment. Compared to conventional ceiling or divider lights, Driven strips introduced around the edges of a reflect can accomplish "shadow-free lighting," conveying more common and reasonable lighting. In any case, numerous individuals feel questionable approximately the particular establishment steps when endeavoring to introduce the lights themselves, frequently stressing approximately hazardous wiring or ugly comes about. In reality, as long as you take after the rectify strategy, introducing Driven light strips is not complicated. This article will detail the down to earth steps for including Driven light strips to a reflect, making a difference you total the overhaul securely and effectively, giving your reflect a brand-new look.
How to Include Driven Light Strips to a Mirror:
1. Get ready Required Materials and Devices
Before beginning the establishment, accumulate all fundamental materials and devices. These basically incorporate: Driven light strip (waterproof sort is prescribed; color temperature can be chosen based on needs—3000K warm white, 4000K normal white, or 6000K cool white), control connector (must coordinate the voltage and control of the light strip), light strip controller (for diminishing or color-changing capacities), double-sided tape or devoted light strip mounting clips, scissors or utility cut (for cutting the strip), electric bore (on the off chance that wiring through dividers), wires and connectors, protection tape, and measuring instruments such as a level and tape measure.
2. Decide the Light Strip Establishment Position
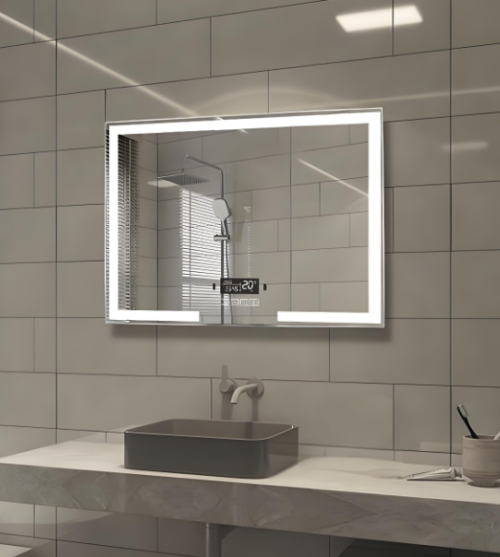
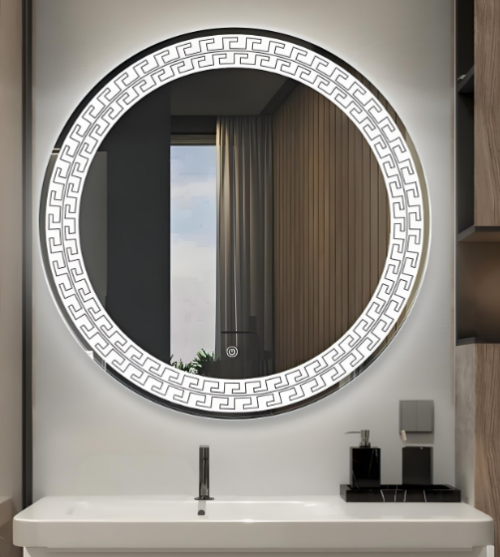
There are three common establishment strategies: around the external edge of the reflect outline, implanted into a backdrop illumination groove behind the reflect, or joined to the back edge of the reflect surface. The "backlighting behind the reflect" strategy is suggested, as it gives milder and less meddlesome lighting. Utilize a level and tape degree to accurately check the way for the light strip around the reflect, guaranteeing symmetry and visual offer. If the reflect is as of now mounted on the divider, handle with care to maintain a strategic distance from scratching the surface.
3. Secure the Driven Light Strip
Clean the back of the reflect or the establishment range to expel clean and oil. Peel off the defensive film from the double-sided tape on the back of the Driven strip and gradually begin connecting it from one corner, squeezing solidly with your fingers as you go. For bended segments, cut and connect the strip in fragments concurring to the assigned cut marks to keep up smooth turns. Plastic clips can moreover be utilized for a more secure and serviceable installation.
4. Interface Control and Controller
Connect the conclusion of the light strip to the controller through wiring, at that point interface the controller to the control connector. If you need to cover up the wires, course them through divider grooves or utilize cable channels, driving the control rope to a adjacent outlet. Guarantee all associations are safely wrapped with protection tape for security. Double-check extremity some time recently controlling on to maintain a strategic distance from harming the light strip.
5. Test and Finalize
Power on the framework and test if the light strip lights up equitably, checking for dim spots or flashing. Once affirmed, you can utilize iced acrylic diffusers or light covers to conceal the person LEDs, making a more uniform light yield. At last, organize the wiring to guarantee a flawless and clean appearance. After completion, you’ll have a proficient, atmosphere-enhancing keen mirror.
In summary:The over substance covers how to include Driven light strips to a reflect. We trust this data is supportive. For more related information, if it's not too much trouble proceed to take after our site, where we will give wealthier and more profitable substance in the future.