
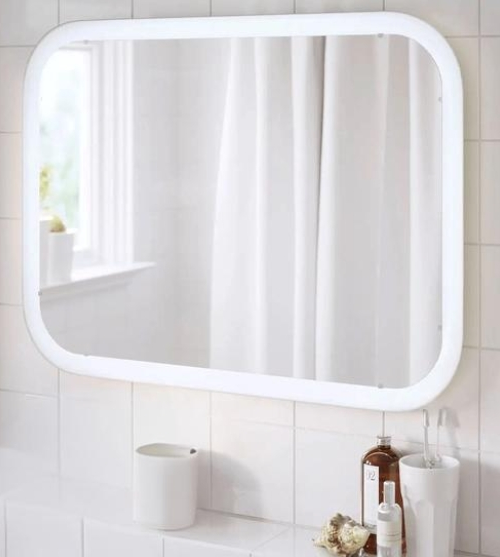
Home / Blog Center / Chargers / How to Install LED Lights on a Mirror?
How to Install LED Lights on a Mirror?
21/08/2025 | OtterOasis
Mirrors are an fundamental portion of every day life and are broadly utilized in lavatories, rooms, and dressing rooms. With headways in lighting innovation, including Driven lights to mirrors has gotten to be a well known way to improve both convenience and stylish offer. Driven lighting not as it were gives shinning, indeed illumination—ideal for nitty gritty assignments like cosmetics application and shaving—but too makes a warm or advanced vibe. Whereas ready-made Driven mirrors are accessible on the advertise, numerous clients lean toward to overhaul their existing mirrors. With appropriate arranging and redress strategies, this overhaul can be completed freely. So, how do you introduce Driven lights on a mirror?
How to Introduce Driven Lights on a Mirror:
1. Plan Devices and Materials
Before beginning the establishment, accumulate all fundamental instruments and materials. These incorporate Driven light strips (ideally waterproof with a tall color rendering file), a congruous control connector (coordinating the voltage and control prerequisites of the Driven strip), double-sided tape or Driven channel tracks, scissors or a utility cut (for cutting the strip), electrical tape, interfacing wires, a switch (discretionary, such as a touch or divider switch), and a control bore (in case boring gaps for mounting). Guarantee all electrical components meet security measures and maintain a strategic distance from utilizing low-quality products.
2. Decide Establishment Position and Layout
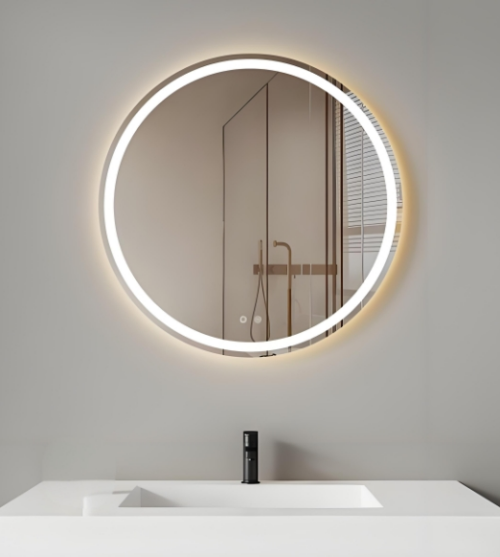
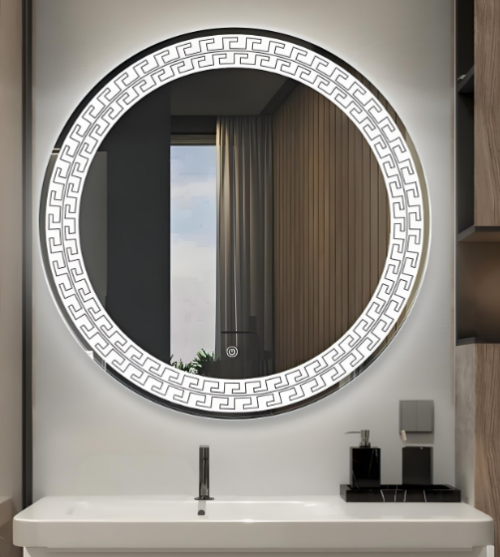
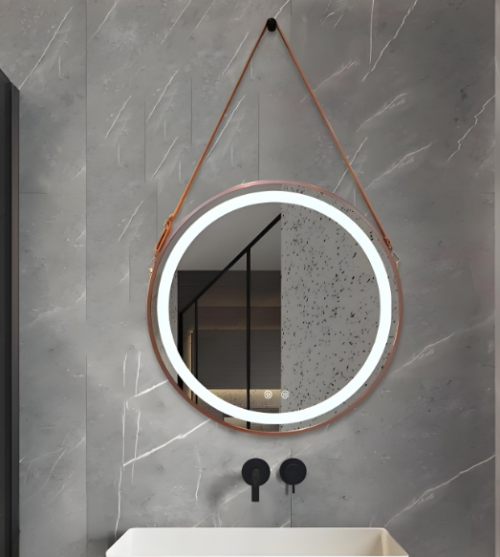
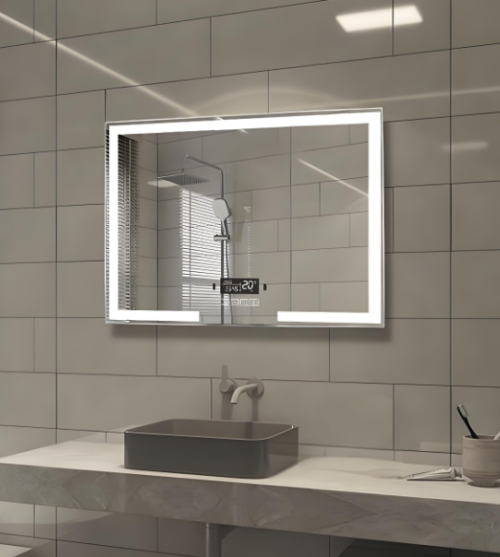
Based on the mirror’s shape and your utilization needs, choose where to introduce the Driven lights. Common choices incorporate mounting the lights around the mirror’s edge, behind the reflect for backlighting, or beneath the reflect as a straight strip. Edge lighting gives the most uniform front brightening, perfect for cosmetics; backlighting offers a embellishing, drifting impact. Degree the mirror’s border, arrange the light strip’s way, and perform a dry fit (without control) to guarantee the format is indeed, with no obvious holes or overlaps.
3. Clean the Reflect and Secure the Light Strip
Thoroughly clean the establishment zone with liquor wipes or a lint-free cloth to evacuate tidy and oil, guaranteeing solid grip. Cut the Driven strip as it were at the stamped cut focuses concurring to your plan. Peel off the backing of the double-sided tape and gradually apply the strip from one corner, squeezing solidly as you go to guarantee it lies level without bubbles. If utilizing a channel track, to begin with settle the track to the reflect outline or divider, at that point embed the Driven strip into it for a neater, more tough finish.
4. Interface Control and Wiring
Connect the yield conclusion of the Driven strip to the wires through patching or connectors, at that point interface to the control connector. If utilizing a switch, introduce it in arrangement inside the control circuit. All associations must be firmly protects with electrical tape or encased in waterproof intersection boxes to anticipate brief circuits or electric spillage. Put the control connector in a dry, well-ventilated range, absent from moisture.
5. Test and Finalize
After wiring, conduct a control test to check if the whole strip lights up equitably, without flashing or dull segments. Once affirmed, organize abundance cables utilizing cable administration channels or zip ties for a clean appearance. At last, recheck all association focuses for security and soundness. Your reflect with professional-grade Driven lighting is presently complete—both useful and stylish.
In summary:The over substance offers how to introduce Driven lights on a reflect. We trust this direct is supportive to you. For more related information, if it's not too much trouble proceed to take after our site, where we will give indeed more comprehensive and improving substance in the future.