
Home / Blog Center / Chargers / How to Add LED Light Strips to a Mirror
How to Add LED Light Strips to a Mirror
20/08/2025 | OtterOasis
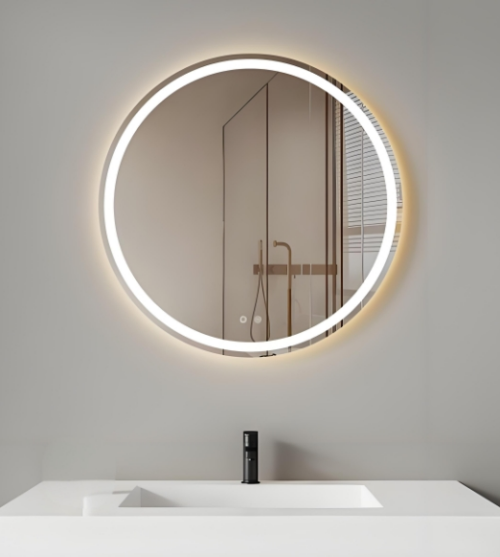
In advanced domestic plan, mirrors are no longer fair down to earth instruments for grooming—they have ended up enriching components that upgrade the vibe of a space. Including Driven light strips to a reflect not as it were gives indeed, delicate light perfect for point by point errands like cosmetics application and skincare, but moreover makes a warm and smart visual impact, immediately raising the see of a washroom or dressing zone. So, how can you include lighting to a mirror?
How to Include Driven Light Strips to a Mirror:
1. Characterize Lighting Needs and Utilization Scenarios
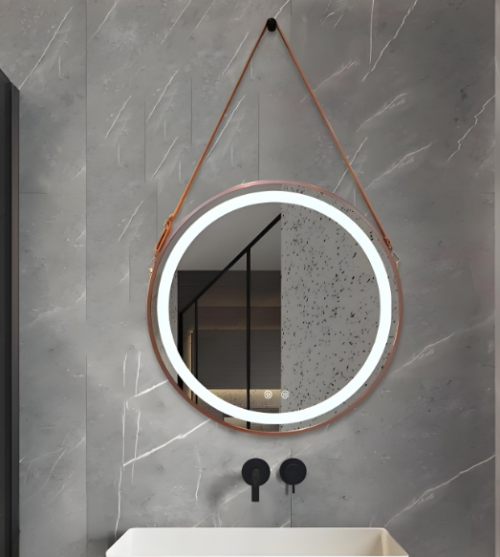
Before beginning, consider the mirror's reason and the environment it's in. For assignments like cosmetics or shaving, select an Driven strip with a color rendering list (CRI) more prominent than 90 to precisely reflect skin tones and minimize color mutilation. For color temperature, 3000K–4000K (warm white to normal white) is ideal—neither as well cruel nor as well dim. For enhancing lighting, RGB color-changing strips can be combined with keen controls to make different moods.
2. Select the Right Driven Strip and Adornments
Use high-quality adaptable Driven strips, and guarantee they have a appropriate waterproof rating—IP65 or higher is prescribed for sticky ranges like washrooms. Too plan congruous components such as a control connector (transformer), connectors, dimmer, or keen controller. For a cleaner, more proficient wrap up, consider utilizing aluminum Driven channels. These stow away the person LEDs, diffuse the light equally, make strides warm scattering, and improve the by and large appearance.
3. Decide the Light Strip Arrangement and Format
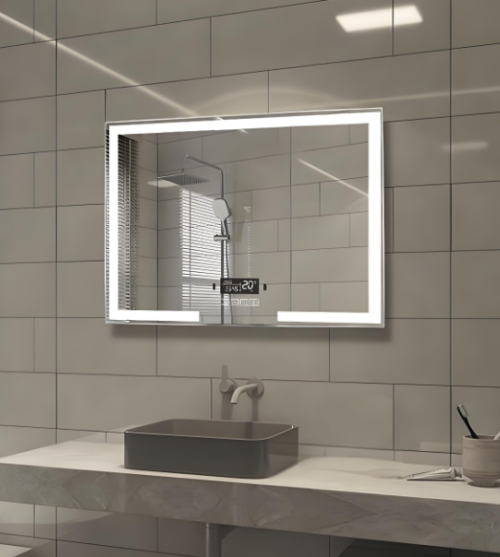
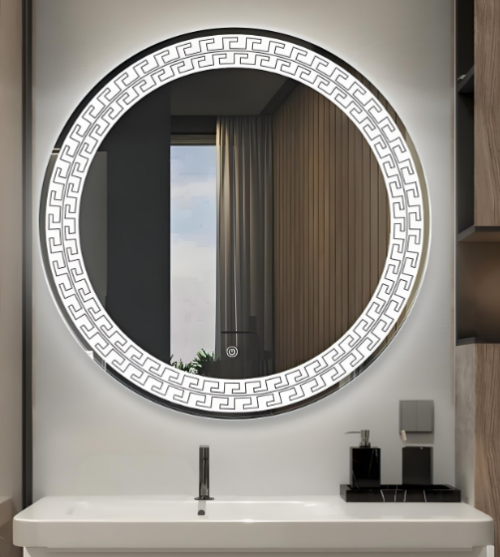
Common establishment formats incorporate: encompassing the reflect on all sides, putting a strip over the reflect, or recessing lights into the ceiling to light up the reflect in a roundabout way. A full edge format offers the most indeed lighting for point by point assignments. A single level strip over the reflect is basic and utilitarian. Roundabout ceiling lighting includes profundity and measurement. Arrange the course based on the reflect estimate and divider structure, and guarantee get to to a adjacent control outlet or intersection box.
4. Turn Off Control and Secure the Light Strip
Safety is paramount—always work with the control turned off. Clean the surface of the divider or reflect outline, at that point peel off the backing from the cement on the Driven strip and connect it along the arranged way, or embed it into a pre-installed aluminum channel. If cutting the strip, as it were do so at the assigned cut marks to dodge harming the circuit. After securing, interface the wires and test the lights to guarantee they enlighten equally without flashing or dull spots.
5. Finalize Wiring and Upgrade Aesthetics
Once tried, interface the control connector to an outlet or conceal it inside a divider intersection box. Take after the informational carefully when interfacing dimmers or keen controls. At long last, utilize embellishing covers, crown molding, or paint to stow away any uncovered wires, guaranteeing a clean and cleaned see. Turn on the lights, alter brightness and color temperature, and appreciate professional-grade lighting around your mirror.
In summary:The over covers everything you require to know approximately including Driven light strips to a reflect. We trust this data is accommodating. For more related information, if it's not too much trouble proceed to visit our site, where we will share more nitty gritty and profitable substance in the future.