
Home / Blog Center / Chargers / How to Securely Mount a Floating Desk to the Wall: Step-by-Step Guide
How to Securely Mount a Floating Desk to the Wall: Step-by-Step Guide
15/08/2025 | OtterOasis
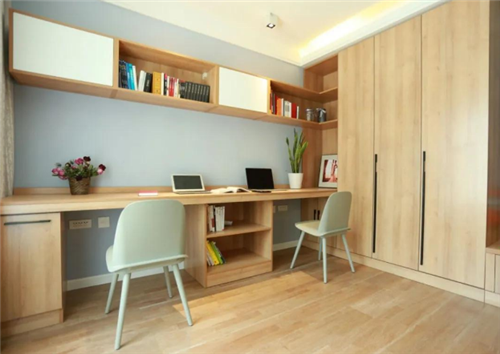
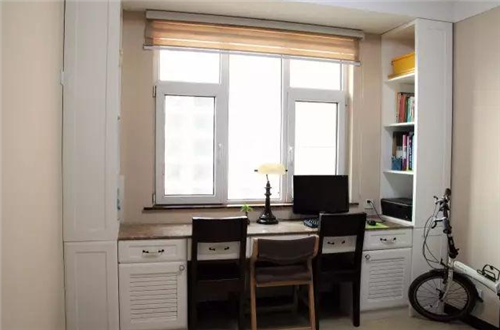
Drifting work areas are progressively well known among little families and those who appreciate moderate aesthetics, much obliged to their smooth appearance, space-saving plan, and present day fashion. Not at all like conventional floor-standing work areas, drifting work areas depend totally on divider bolster. Hence, the steadiness of their establishment straightforwardly influences both security and life span. So, how do you safely settle a coasting work area to the divider? Take after along as we investigate the handle step by step.
How to Settle a Drifting Work area to the Wall:
1. Decide the Establishment Position and Check It Clearly
Before introducing a coasting work area, to begin with choose its correct position on the divider. Utilize a measuring tape to decide the stature and separate from adjacent control outlets based on your utilization propensities. It is by and large prescribed that the foot of the work area be 70 to 75 cm over the floor, which suits the sitting pose of most individuals. Once the position is set, utilize a soul level to draw a superbly level line and clearly stamp the mounting gap positions for the work area brackets or mounting plates with a pencil. This step is significant, as exact stamping anticipates establishment errors.
2. Distinguish the Divider Sort and Select Appropriate Fixings
The divider fabric decides the security and quality of the establishment. For concrete or strong brick dividers, standard extension screws can be utilized for solid load-bearing back. Be that as it may, for lightweight brick, drywall, or empty dividers, uncommon divider grapples (such as flip jolts or metal development stays) must be utilized to upgrade hold and avoid releasing. Never depend exclusively on standard plastic divider plugs. Some time recently boring, it is fitting to utilize a divider scanner to check for covered up electrical wires or plumbing to guarantee secure installation.
3. Introduce the Brackets and Secure the Work area Beat
Following the stamped positions, utilize a control penetrate to bore gaps in the divider, making beyond any doubt the profundity and distance across coordinate your chosen screws or grapples. Embed the grapples into the gaps, at that point safely secure the metal brackets or L-shaped underpins to the divider with screws. After establishment, shake the brackets immovably to affirm they are steady and do not wobble. At long last, put the work area best onto the brackets and secure it utilizing screws or clip instruments from underneath, guaranteeing the whole structure is strong and stable.

4. Perform Stack Testing and Continuous Support
After establishment, dodge setting overwhelming things instantly. To begin with, press down delicately on the desktop with your hands to check for any development or bizarre clamors. At that point slowly include weight—for case, by putting books on it—to conduct a stack test. As it were utilize the work area ordinarily once you’ve affirmed it is secure. Routinely review the screws for detachment, and particularly amid the to begin with few months of utilize, it is prescribed to fix all associations each three months to guarantee long-term security and stability.

In summary:That’s all for the data on how to safely introduce a coasting work area on the divider. We trust this direct has been supportive. For more upgrades and valuable substance, it would be ideal if you proceed to take after our site.