
Home / Blog Center / Chargers / How to Install a Wall-Mounted Cabinet: A Step-by-Step Guide
How to Install a Wall-Mounted Cabinet: A Step-by-Step Guide
11/08/2025 | OtterOasis
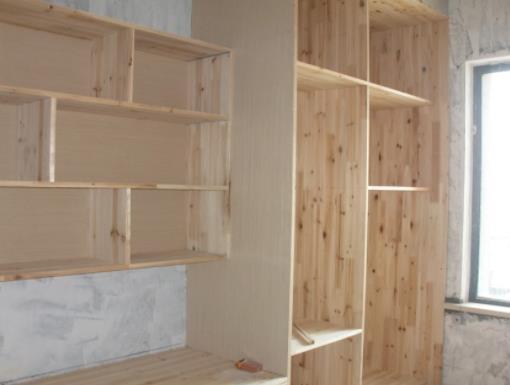
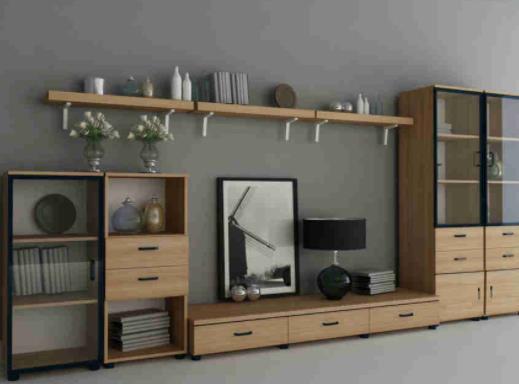
As a commonsense and tastefully satisfying capacity arrangement, divider cabinets can viably utilize space and upgrade the neatness and magnificence of a domestic. In any case, introducing a divider cabinet is not a straightforward errand. The redress establishment strategy not as it were guarantees the soundness of the cabinet but too avoids different risks amid utilize. So, how do you introduce a divider cabinet on the wall?
How to Introduce a Divider Cabinet on the Wall:
1. Preparation
Before introducing the divider cabinet, it is basic to do exhaustive arrangement work. To begin with, affirm the establishment area and whether the estimate of the cabinet is reasonable. Select a divider that can bear the weight of the cabinet. Another, accumulate the fundamental devices and materials, which more often than not incorporate a control penetrate, screwdriver, level, pencil, divider stays (or development screws), and divider security cushions. Guaranteeing that you have all the apparatuses can make strides establishment efficiency.
2. Check the Establishment Position
On the chosen establishment area, utilize a pencil to check the edges and centerline of the divider cabinet. Utilize a level to guarantee the checked positions are straight. Once you decide the tallness, stamp the positions for the back sheets, snares, or divider stays, guaranteeing that their areas coordinate the structure of the cabinet. This step is basic; precise checking can anticipate deviations amid the ensuing installation.
3. Penetrating and Reinforcing
Based on the already checked positions, utilize the control penetrate to make gaps in the divider agreeing to the indicated measurements. Select a appropriate bore bit based on the divider fabric: utilize a pound penetrate for concrete dividers or a standard wood penetrate for wooden dividers. Whereas penetrating, keep up solidness to guarantee the gaps are of the adjust breadth and profundity. After boring, embed the development screws or divider grapples and tenderly tap them in with a pound to guarantee they are secure.
4. Introduce Bolster Fixtures
To guarantee the steadiness of the divider cabinet, the back installations that contact the divider are exceptionally vital. After introducing the bolster installations in the gaps, be beyond any doubt to settle them firmly with screws. Amid this prepare, you can allude to the cabinet's enlightening to guarantee that the position and amount of each bolster installation meet the necessities. Once introduced, utilize the level once more to check the level position of the bolster installations to guarantee they are opposite to the ground.
5. Hang the Divider Cabinet
Once all the back installations are introduced, you can hang the cabinet. It is prudent to have somebody help you in this step to dodge lopsidedness or harm. Discover the hanging gaps on the cabinet and adjust them with the bolster installations on the divider, at that point gradually hang it up. After affirming it is safely hung, delicately shake the cabinet to check its steadiness. If it doesn’t feel strong sufficient, consider including more bolster fixtures.

6. Last Alterations and Cleanup
After hanging the cabinet, make the last alterations. Check if the cabinet is level, and if essential, make minor alterations utilizing the bolster installations. This step is vital to guaranteeing the cabinet's stylish offer and common sense. At long last, clean up the encompassing establishment instruments and materials to keep the establishment zone tidy.

In summary:The over substance diagrams how to introduce a divider cabinet on the divider. I trust it can be accommodating to everybody. For more data, it would be ideal if you proceed to take after our site.