
Home / Blog Center / Chargers / How to Remove a No-Drill Storage Rack: A Step-by-Step Guide
How to Remove a No-Drill Storage Rack: A Step-by-Step Guide
16/06/2025 | OtterOasis
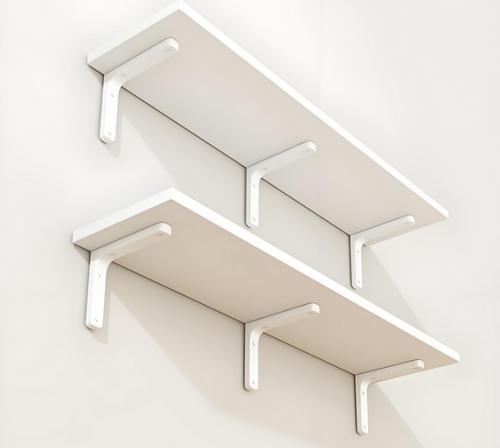
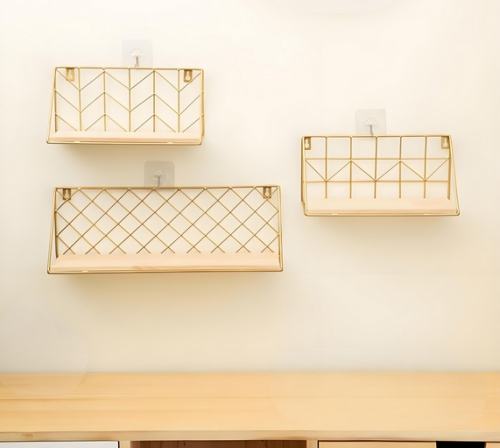
The no-drill rack is broadly prevalent due to its simple establishment and the truth that it doesn't require penetrating gaps. Its structure ordinarily comprises of different brackets, installations, and load-bearing sheets, which are amassed utilizing clips or solid cement to form a steady capacity space. So, how can you disassemble a no-drill rack?
How to Disassemble a No-Drill Shelf:
1. Get ready Disassembling Instruments
Some time recently destroying the no-drill rack, it's prudent to get ready the vital apparatuses. These ordinarily incorporate a lean edge spatula, elastic gloves, a flathead screwdriver, and a cleaning cloth. The lean edge spatula makes a difference in dismantling the installations, whereas the flathead screwdriver can help in effortlessly expelling certain clips. Elastic gloves can secure your hands from cuts or cement buildup.
2. Clear the Things from the Rack
Some time recently beginning the disassembling prepare, you ought to to begin with clear all things from the rack. This not as it were makes a difference with secure destroying but moreover anticipates things from falling and causing harm amid the method. When clearing the rack, you'll be able begin by expelling heavier things to begin with, followed by lighter ones, guaranteeing that the complete operation is performed securely.
3. Disassemble the Installations
No-drill racks ordinarily have different sorts of installations such as clips, clamps, or brackets. Begin by carefully embeddings the lean edge spatula from the foot or side to pry open the installations slowly. On the off chance that you experience installations that are stuck on, utilize the flathead screwdriver to tenderly pry up the edges, taking care to maintain a strategic distance from harming the divider. This handle may require a few tolerance and fastidious work.
4. Carefully Expel the Load-Bearing Board
Once all the installations have been expelled, you'll start to require off the load-bearing board. Since the load-bearing board is as a rule very overwhelming, make beyond any doubt to hold it safely to maintain a strategic distance from any inadvertent drops due to moving adjust. You'll to begin with lift one side somewhat to guarantee there are no remaining fixtures, at that point carefully take down the complete load-bearing board. This step requires caution to guarantee security.

5. Bargain with Cement Buildup
After expelling all components, there may be remaining cement cleared out on the divider. At this point, you'll utilize a specialized cement remover or cleaner, showering it on the buildup and holding up a number of minutes some time recently wiping it clean with a cleaning cloth. For adamant cement, it is fitting to carefully rub it off with the lean edge spatula, being cautious not to scratch the divider.

6. Repair the Divider
At last, after disassembling the rack, you'll repair the divider as required. In the event that there are little gaps or scratches, you'll be able utilize divider repair putty to fill and settle them. Once the repair is total, apply a groundwork that matches the divider color to guarantee by and large stylish request. On the off chance that fundamental, hold up for the repair putty to dry and repaint concurring to the circumstance.

In summary:The over data gives direction on how to destroy a no-drill rack. We trust this could be supportive to you. For more related information, if you don't mind proceed to take after our site, where we'll show more energizing substance within the future.