
Home / Blog Center / Chargers / How to Install a No-Drill Storage Rack: A Step-by-Step Guide
How to Install a No-Drill Storage Rack: A Step-by-Step Guide
13/06/2025 | OtterOasis
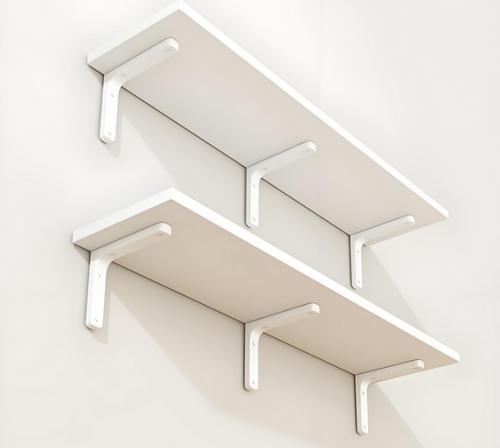
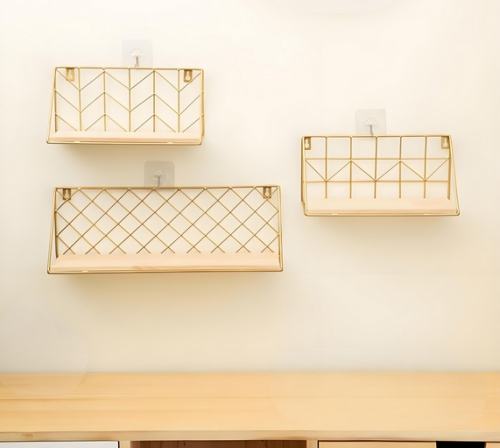
In cutting edge domestic situations, space utilization is an imperative thought. No-drill racks have gotten to be progressively well known among shoppers as a adaptable and helpful capacity arrangement. These racks not as it were increment capacity space but too keep up the aesthetics of dividers, permitting for simple establishment without penetrating. So, how do you introduce a no-drill rack?
How to introduce a no-drill shelf:
1. Get ready Apparatuses and Materials
Some time recently beginning the establishment of a no-drill rack, you would like to plan a few devices and materials. This incorporates the no-drill rack and its adornments, cleaning instruments such as cloths or damp wipes, a ruler or tape degree, and a level (discretionary) to guarantee you have got everything prepared to total the establishment easily.
2. Select the Establishment Area
Choosing a appropriate establishment area is key to effectively introducing the no-drill rack. To begin with, consider the reason of the rack, such as for books, kitchen capacity, or as a lavatory rack. Based on the planning utilize, select a helpful tallness and position for get to. Dodge putting it in high-traffic regions to anticipate disturbance of every day exercises.
After deciding the area, utilize a ruler to degree the specified stature and make marks. You will utilize a level to guarantee the marks are vertical for less demanding establishment afterward.

3. Clean the Establishment Surface
To guarantee the cement of the no-drill rack follows well, cleaning the establishment surface is pivotal. Utilize a cloth or damp wipes to clean the region, expelling tidy, oil, and other debasements. Once the surface is dry, you may accomplish way better attachment, improving the solidness of the rack.
4. Introduce the Rack
Following, continue to the establishment steps. Ordinarily, the back of a no-drill rack will have a devoted cement or a sticky bolster bracket. Depending on the brand and demonstrate, the particular establishment strategies may shift. For the most part, you basically have to be apply the arranged cement to the back of the rack and adjust it with the stamped position some time recently delicately squeezing it into put.
Guarantee simply apply indeed weight amid the squeezing prepare to permit the cement to completely bond with the divider. In case essential, utilize devices to assist apply steady drive, such as squeezing with the palm of your hand.

5. Secure and Alter
After the cement is connected, it is suggested to apply a few weight to the rack to guarantee it follows immovably to the divider. A few brands of no-drill racks may come with extra securing gadgets, such as security clips or locks, to improve solidness. In case these extras are included, if you don't mind take after the informational within the manual for establishment.
Amid this handle, utilize a level to check the shelf's level arrangement. In the event that you take note any tilting, you'll be able alter the position in like manner to guarantee a culminate last result.

6. Utilization and Support
Once establishment is total, you'll begin setting things on the rack. Be careful of the weight limits for each capacity area to dodge over-burdening, which may lead to tilting or falling. Moreover, frequently check the solidness of the rack to guarantee security amid amplified utilize.
When cleaning, it is prescribed to utilize a delicate cloth to wipe it down, dodging solid acidic or antacid cleaners to anticipate harm to the surface of the rack.

In summary:This could be a brief presentation on how to introduce a no-drill rack. Ideally, through perusing this article, you'll discover reference and help for future rack establishments. For more related data, if it's not too much trouble proceed to take after our site.