
Home / Blog Center / Chargers / How to Install Bathroom Cabinet Lights: A Step-by-Step Guide
How to Install Bathroom Cabinet Lights: A Step-by-Step Guide
28/05/2025 | OtterOasis
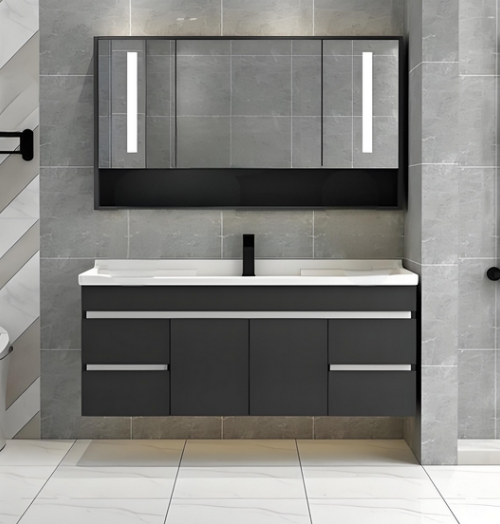
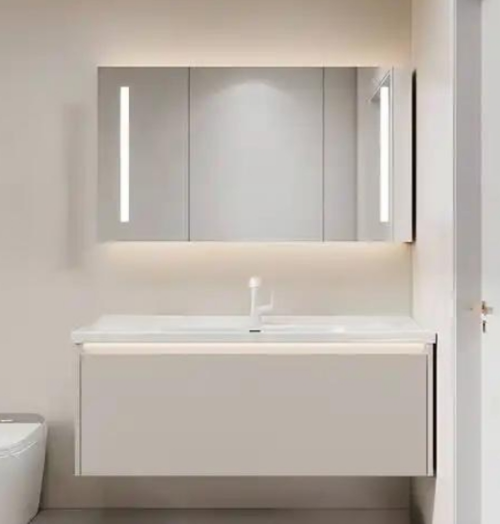
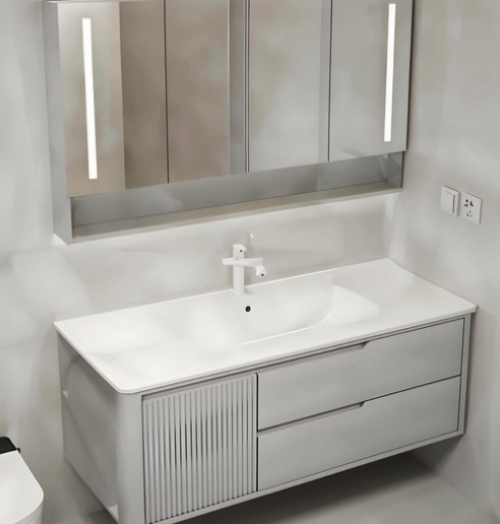
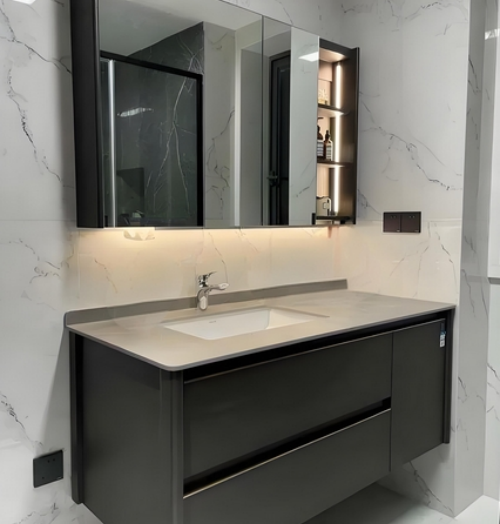
Most lavatories by and large have a conceit, and it is additionally conceivable to introduce lights over the pretension, which are known as reflect lights for the conceit. How do you introduce the lights for the conceit?
How to Introduce Lavatory Cabinet Lights:
1. Planning Work
Some time recently introducing the washroom cabinet lights, a few preliminary work is necessary. To begin with, affirm the desired apparatuses and materials, counting a screwdriver, electric bore, electrical wires, and protection tape. Following, select reasonable light installations; due to the muggy environment in washrooms, it is prescribed to choose waterproof installations particularly outlined for lavatory utilize. Also, guarantee that the control supply is turned off to maintain a strategic distance from mishaps amid establishment.
After deciding the sort of installations, check in case all adornments are included within the bundling, such as light bulbs and mounting brackets. In the event that you acquired a installation that requires gathering, pre-assemble the components concurring to the instruction manual for less demanding establishment afterward.
2. Decide the Establishment Area
Choosing the establishment area for the installations is significant. Regularly, lights can be introduced over or on the sides of the reflect. Guarantee that the area can equally enlighten the entire washing range. When deciding the position, take under consideration the area of electrical outlets and the comfort of future upkeep.
Utilize a tape degree to decide an suitable stature; the foot of the installation ought to regularly be around 60 to 70 centimeters over the washbasin. After stamping the location, use a level to check the even arrangement and guarantee that the installations will not be tilted after establishment.
3. Bore Gaps and Introduce Brackets
At the checked location, use an electric bore to form gaps, coordinating the number of gaps to that of the fixture's mounting bracket. Be cautious not to harm any other wires or pipes inside the divider whereas penetrating. Subsequently, it is fundamental to utilize a locator to find any lines inside the divider some time recently penetrating.
Once the gaps are made, settle the mounting bracket for the light installation to the divider agreeing to the instruction manual. Utilize fitting screws and development screws to guarantee it is secure. Whereas securing the bracket, utilize a level once more to guarantee it is straight.
4. Interface the Control Supply
After the fixture's mounting bracket is safely settled, the following step is to put through the control supply. To begin with, guarantee that the control remains off. Concurring to the fixture's instruction manual, interface the control cable to the fixture's terminal. For the most part, the dark wire interfaces to the live wire, the white wire interfaces to the unbiased wire, and the green or yellow-green wire interfaces to the ground wire.
Once associated, utilize protection tape to wrap the association focuses safely to prevent short circuits and electric stuns. On the off chance that you're dubious almost the wiring associations, it is best to look for the help of a proficient circuit tester to guarantee security.
5. Introduce the Light Installation
After completing the control association, the light installation can be mounted to the already secured bracket. Regularly, installations are secured to the bracket with clips or screws; the particular strategy ought to be referenced within the fixture's instruction manual. When securing the installation, guarantee it does not wobble which it is situated accurately.
After completing the over steps, you'll be able embed the bulb into the installation and turn on the control to check on the off chance that the installation works accurately. In the event that the light turns on, congrats, the establishment is effective!

6. Standard Upkeep and Safety measures
After introducing the installations, customary upkeep is additionally fundamental. Due to the muggy environment of the lavatory, dampness and soil on the light installations can influence their life expectancy. It is suggested to routinely wipe the outside of the installations with a dry cloth to maintain a strategic distance from water stains collecting. Also, check the wires and associations for maturing or harm, and address any issues promptly.
Amid utilize, dodge touching the installations with damp hands, and intermittently check that the switches work easily to ensure safety. Besides, in the event that you wish to supplant a bulb, be beyond any doubt to turn off the control once more some time recently continuing.
In summary:That concludes the presentation on how to introduce lavatory cabinet lights. Within the future, on the off chance that you encounter comparative questions, fair seek for how to introduce lavatory cabinet lights, and it'll be promptly accessible. In case you need to learn more, it would be ideal if you proceed to take after our site for more energizing substance to come.